


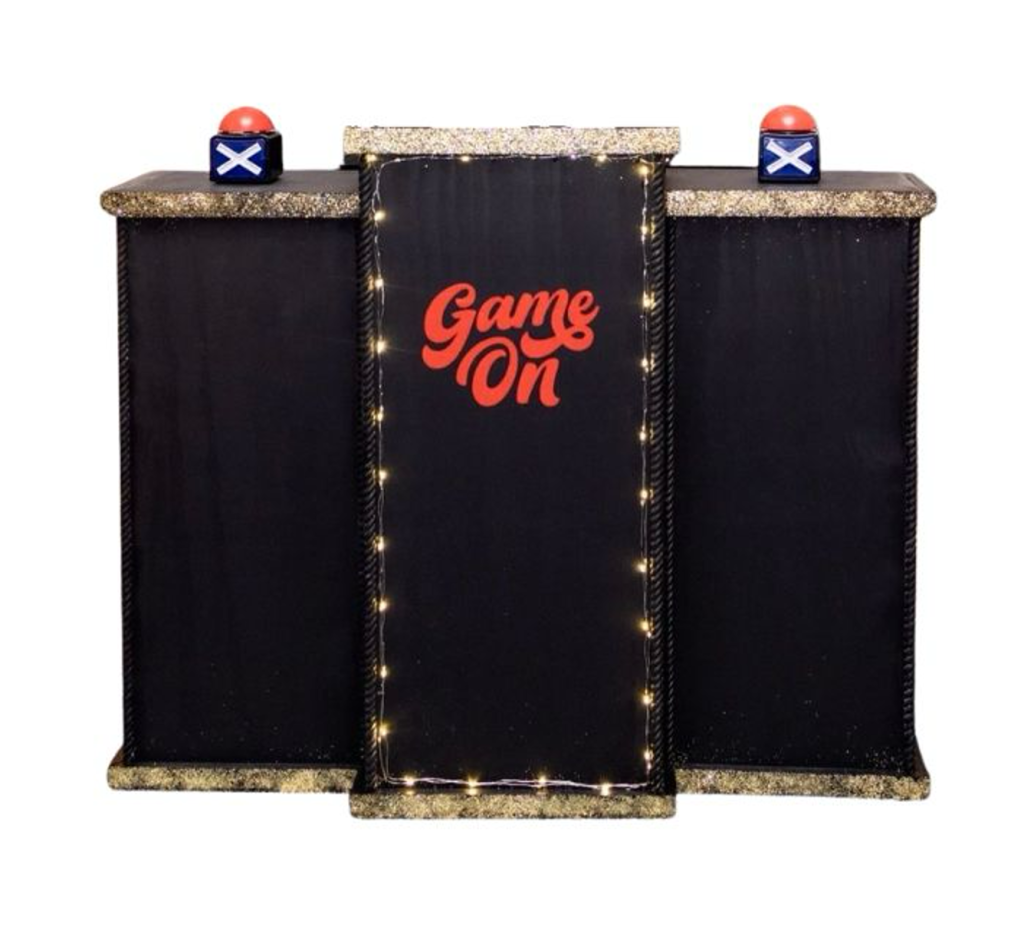
This month we hosted our annual holiday party and one of the things we love to do is play games! This year I decided to build a Family Fued style game podium.
It took me awhile to figure out how I wanted to build it that would use as little wood as possible and also be easy to make. I ended designing this simple tiered version.
I should also mention I started on this the day before my event so I kept it pretty basic. Honestly, I had to rush through it to get it finished in time so I didn’t do all I originally wanted to do on the front design but what I love is that you can truly customize it and get as funky as you want to jazz this up!
If you’re ready to make this, let’s get into it! I’m telling you, your guests will love it!
Materials Needed
- 4×8 (3/4 inch) – 1 sheets of plywood
- 4×8 (1/2 inch) – 1 sheet of plywood
- 1x2x8
- 1x6x6 (you can use a 1×8 or 1×10 for this as well)
- Wood Glue
- Nails for nail gun
- 2 inch screws
- Paint or stain
- Glitter (optional)
- Wood Trim (optional)
- Battery operated lights
- Buzzers
- Double sided velcro for buzzer
- Cricut (for sign) *optional*
Tools Needed
- Nail Gun
- Drill or screwdriver
- Sander (optional)
Cut List
- Middle/Tallest podium consists of:
- 40″ x 18″ piece of 1/2″ thick plywood for front panel (1 qty)
- 40″ x 15″ piece of 3/4″ thick plywood for side panels (2 qty)
- Left and Right side podiums consists of:
- 36″ x 15″ piece of 1/2″ thick plywood for front panels (2 qty)
- 36″ x 12″ piece of 3/4″ thick plywood for side panels (4 qty)
- Support panels for the back of each podium:
- 16-1/8″ piece of 1×6 for middle podium (1 qty)
- 13-3/4″ piece of 1×6 for left & right podiums (2 qty)
- Countertops for each podium:
- 17.5″ x 12-3/8″ piece of 1/2″ thick plywood (1 qty)
- 15″ x 12-1/4″ piece of 1/2″ thick plywood (2 qty)
- Border Trim for top and bottom of podiums(optional):
- Measure once podiums are done
- Border Trim for sides (optional)
- Measure once podiums are done
If you are cutting these pieces yourself, don’t cut your countertops until you complete the podiums. In general, always double check your measurements as well.
Instructions
We’re going to start out building each tier one at a time.
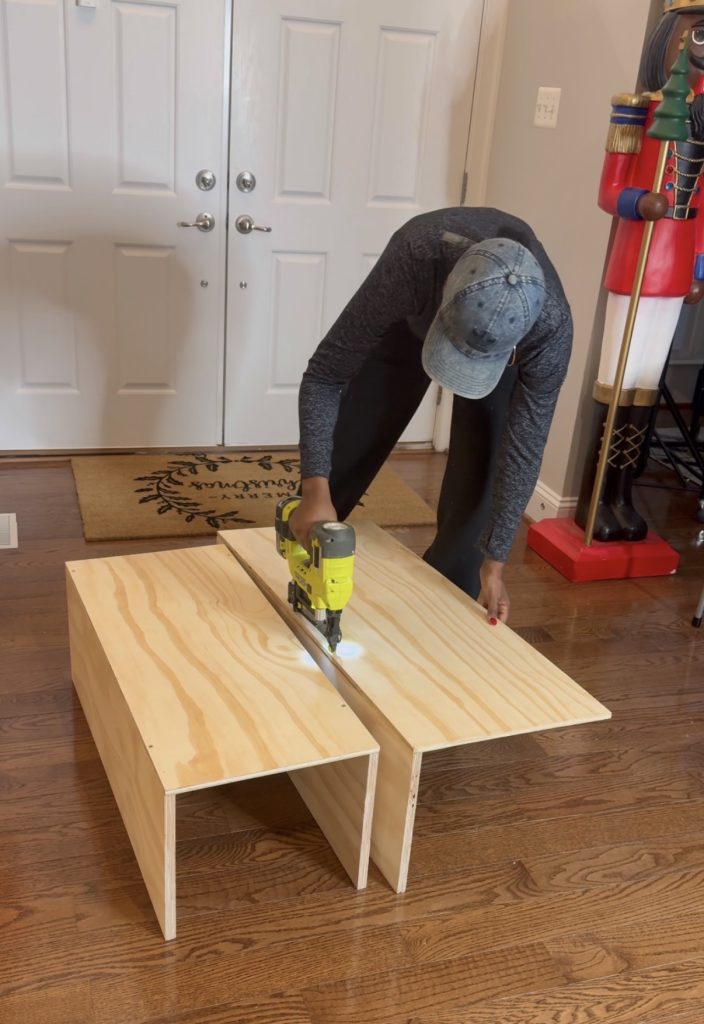
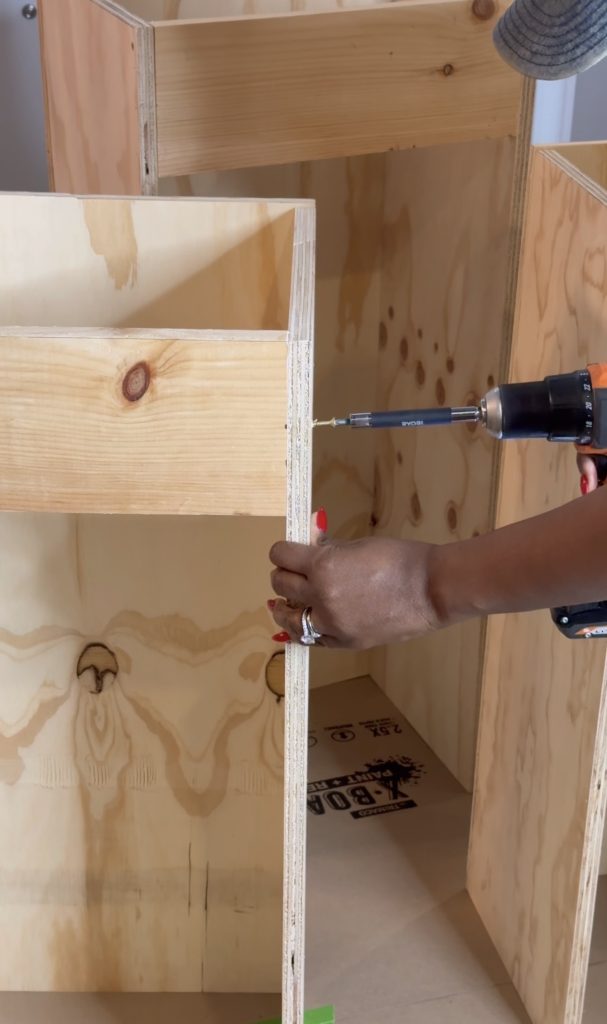
STEP 1
- Grab your pieces for your middle podium. This will be the tallest one. You will attach your two side pieces to the front panel using wood glue and your nail gun. After you do that, secure with a few screws as well. Repeat this for all 3 podiums.
When you’re done, you’ll have 3 podiums like this:
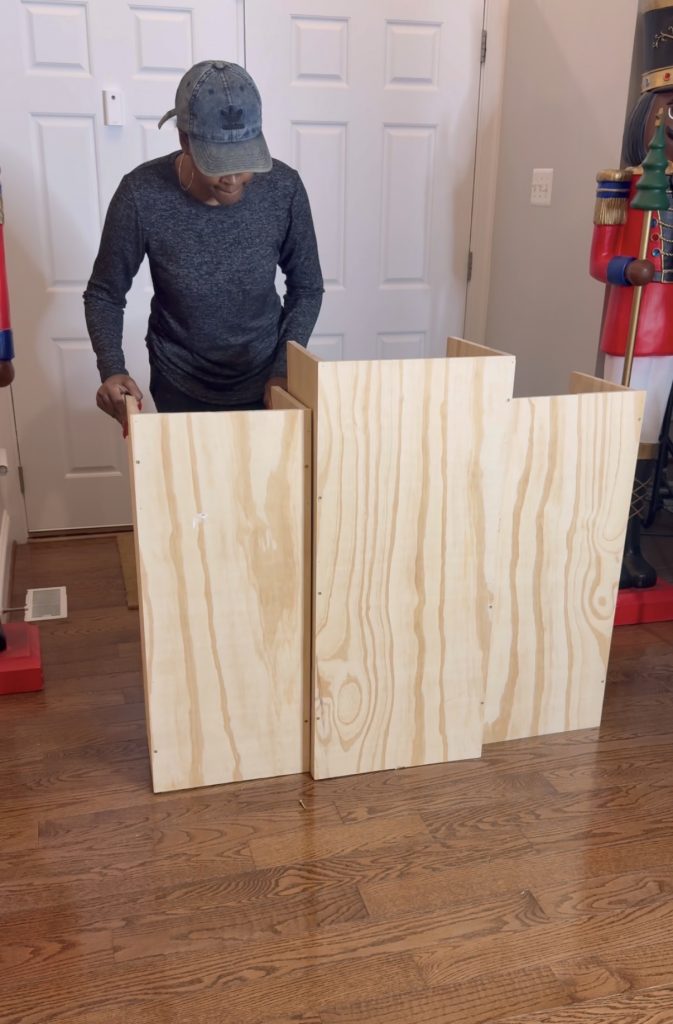
STEP 2: Add support panels cut from your 1×6 to back of podiums.
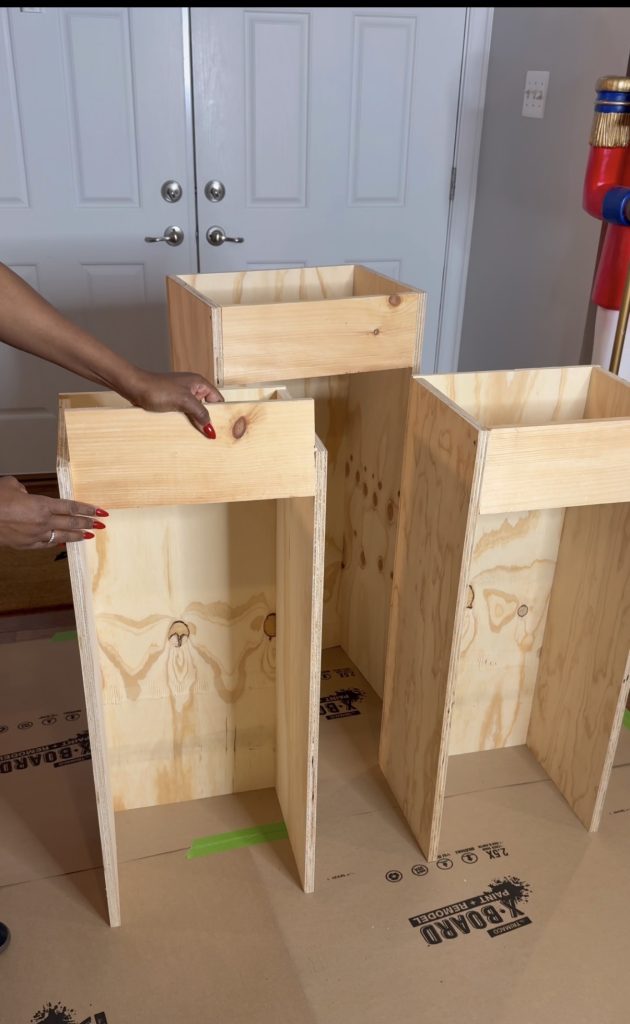
Use wood glue & 2-3 screws to secure on each side.
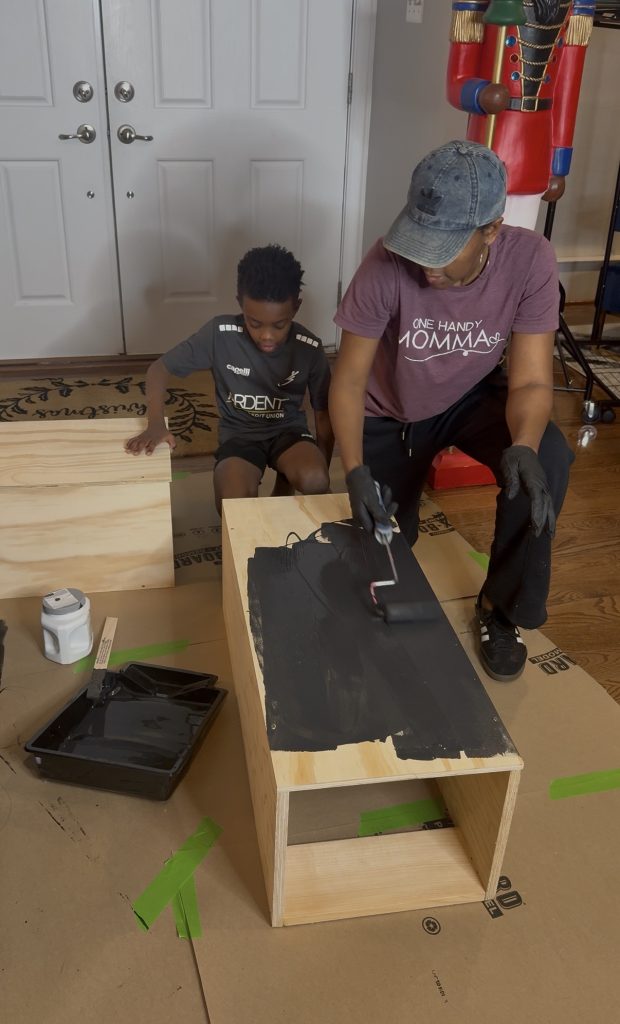
Step 3: Paint podiums
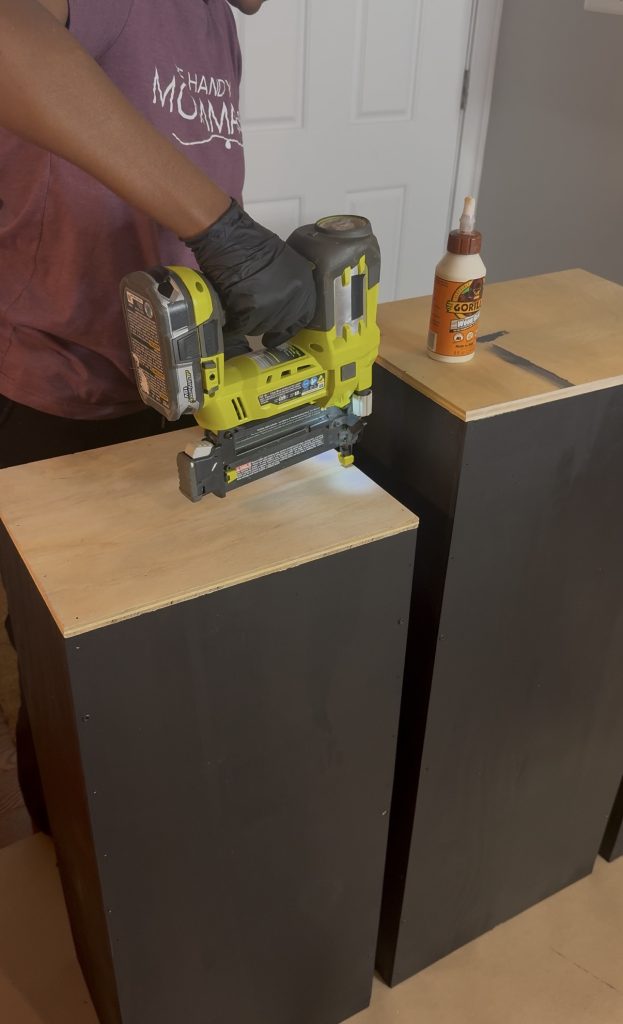
STEP 4: Attach countertops using wood glue & nail gun.
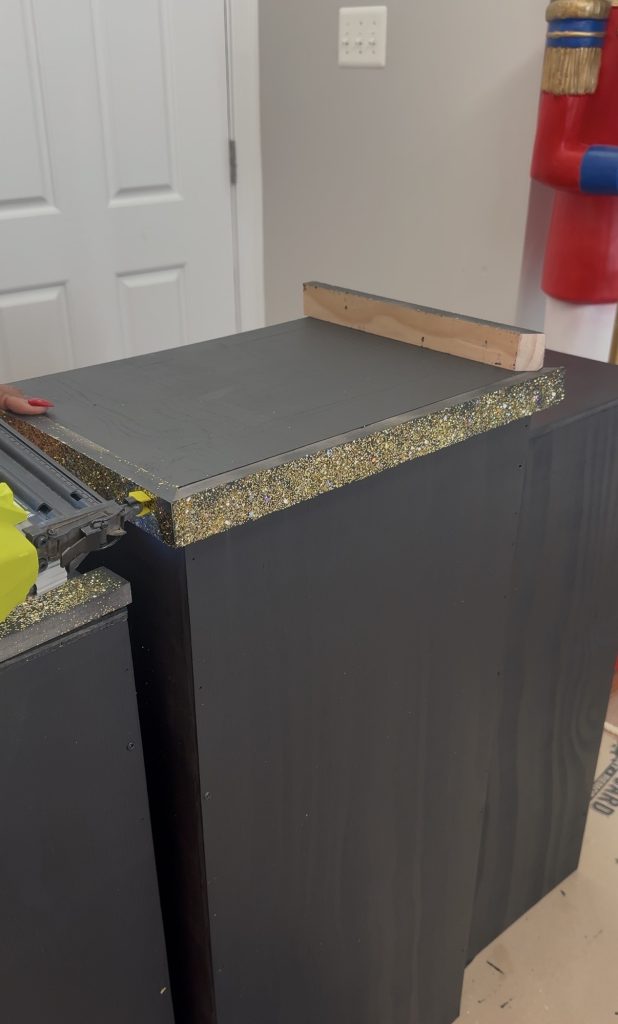
STEP 4: Paint your countertops then add 1×2″ trim if you want to go for a finished look. I wanted to add some shine to it and made the mistake of actually using glitter which was a mess. If I could do it again, I would skip that part and glue on glitter ribbon or trim.
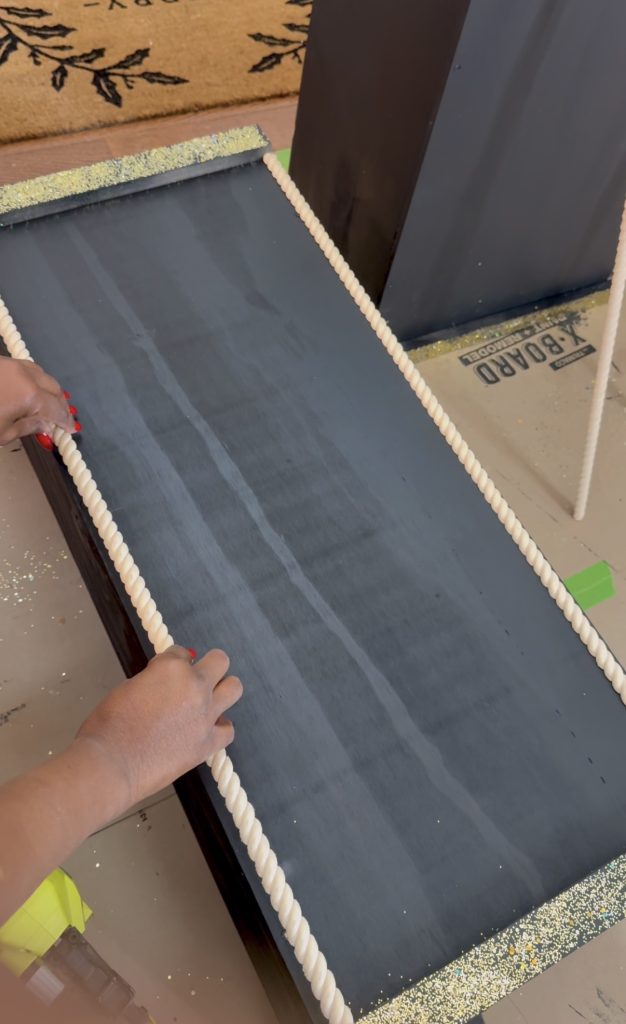
I also added some pieces of trim I had in my garage to the sides of podium to cover up my holes. Then I painted them.
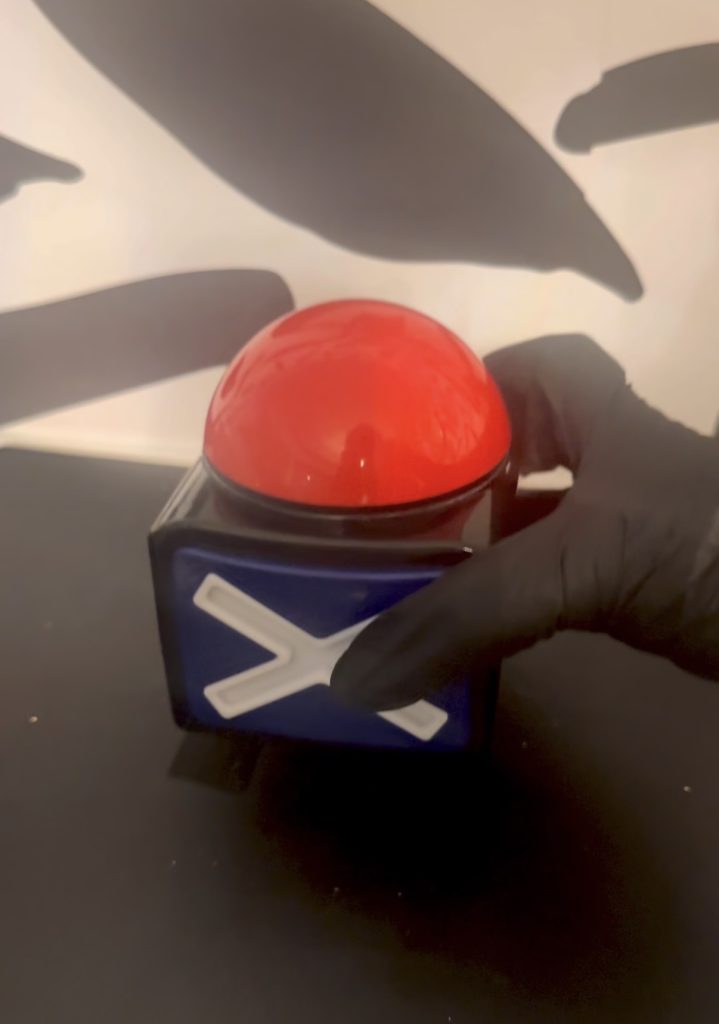
STEP 5: Add your velcro on the bottom of buzzers and attach to top of left and right podium.
STEP 6: Add your signage then attach the 3 podiums using screws to each other making sure to move your middle one about 4 inches in front of the other two podiums.
STEP 7: As a final step, I added some battery operated lights. I attached them with those clear sticker tabs that people use for balloons. They stuck the lights but I wouldn’t recommend them for a long time. By the end of the night, the lights were kinda falling off.
Other than that, you’re all done!
If you give this a try, let me know!


Read the Comments +