


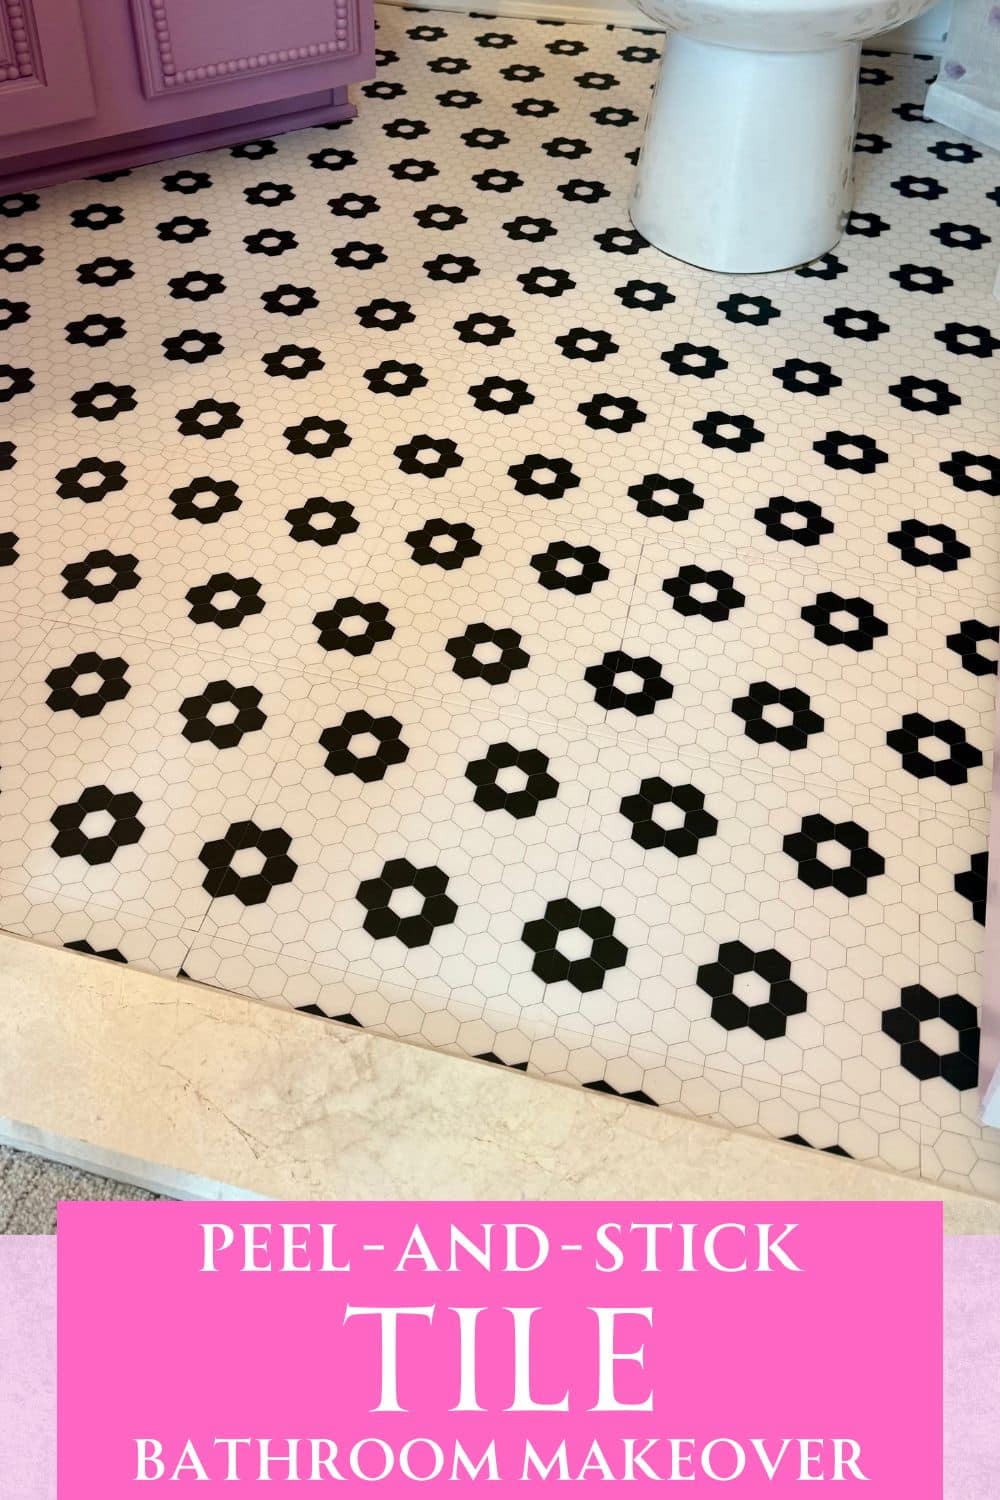
Ya’ll, I am so excited to show you how easy it was to update my daughter’s bathroom with peel and stick floor tile. The change it created was fast, budget-friendly, and just what her bathroom needed for a new look. I chose these for the cute design and they got really good reviews online. I can’t wait to show you, so let’s get to it!
One Handy Momma is a member of the Amazon Affiliate Program meaning I may receive a commission if you click a link and make a qualifying purchase at no additional cost to you.
Why you’ll love this project
- Budget Friendly: If you have ever researched putting down real tile in a bathroom, you know how expensive it can be! Since this is a kid’s bathroom, I wanted something inexpensive so if I change it again in a few years, it is no big deal!
- Fast Change: When I do a small project like this bathroom makeover, I like the outcome to be fast! And with these peel and stick tiles, there is no need to get out the tile saw or the grout! You just peel…and stick!
- Updated Look: Especially if you have outdated or builder grade tile, this is an easy way to get the customized look you want quick and easy!
Why I’m doing this project
It has been years since I decorated my daughters bathroom, and to be honest, it was a little too young for her current tastes. Plus I thought it would be nice to tie in the colors she loves in her room with the colors and look of her bathroom. I really love how it turned out and so does she!
Materials Needed
FloorPops Peel and Stick Floor Tile: I chose this peel and stick tile because not only does it have a great design that ties in with the rest of the bathroom makeover, but these tiles got excellent reviews on Amazon.
Tools Needed
Utility knife: A utility knife is needed to make cuts around corners and the toilet so every peel and stick tile fits and looks perfect. You could also use an Exacto knife.
Straight Edge: I used a ruler, but you could also use a level with a straight edge so you can cut and draw straight lines.
Pencil: You will need a pencil to mark where you plan to cut the tile.
How to Install Peel and Stick Floor Tile
Okay ya’ll, this project was so easy there are barely any steps. But here is what I did to get this flooring project to turn out perfectly.
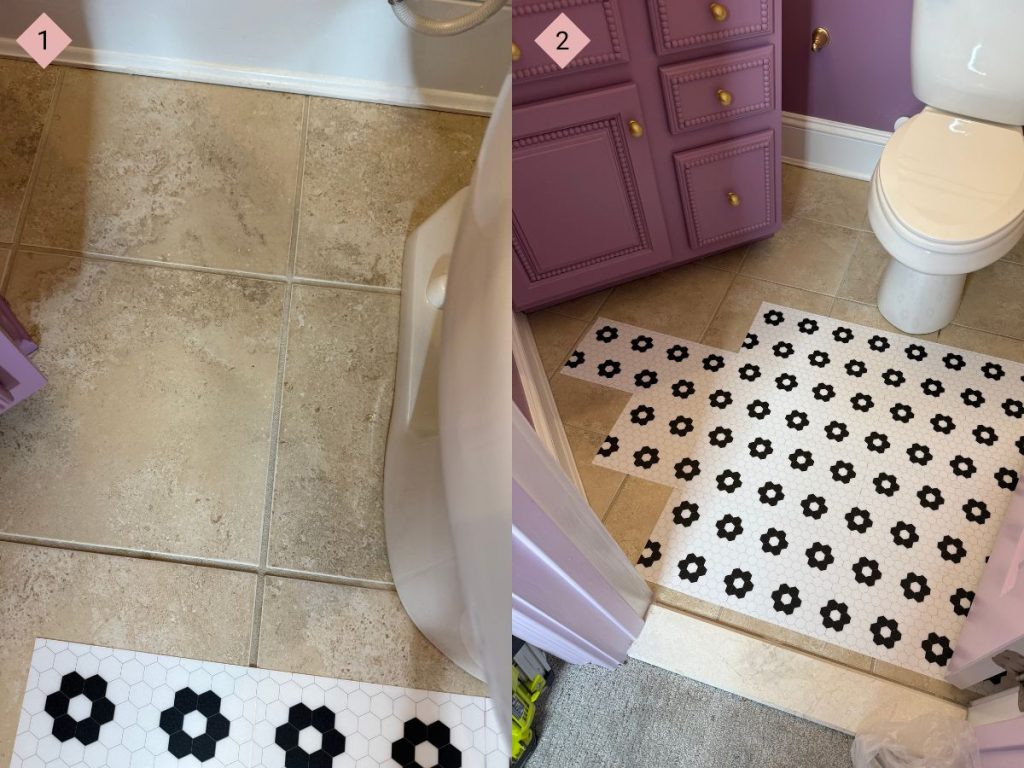
Here is how the project started:
- After cleaning the floor well and letting it thoroughly dry, I laid out all the tiles on the floor so I knew exactly how many were needed and which ones were going to need to be cut.
- Then I started at the door threshold and laid the tile one at a time by peeling off the protective layer and then sticking them to the floor.
3. The peel and stick bathroom floor tile had to be cut when I got to the vanity, the back wall, and around the tile, so I used a pencil to mark the cuts, then used a utility knife to score the tile.
4. Once the score marks are there, all you have to do is bend the tile to snap it where the cut needs to be.
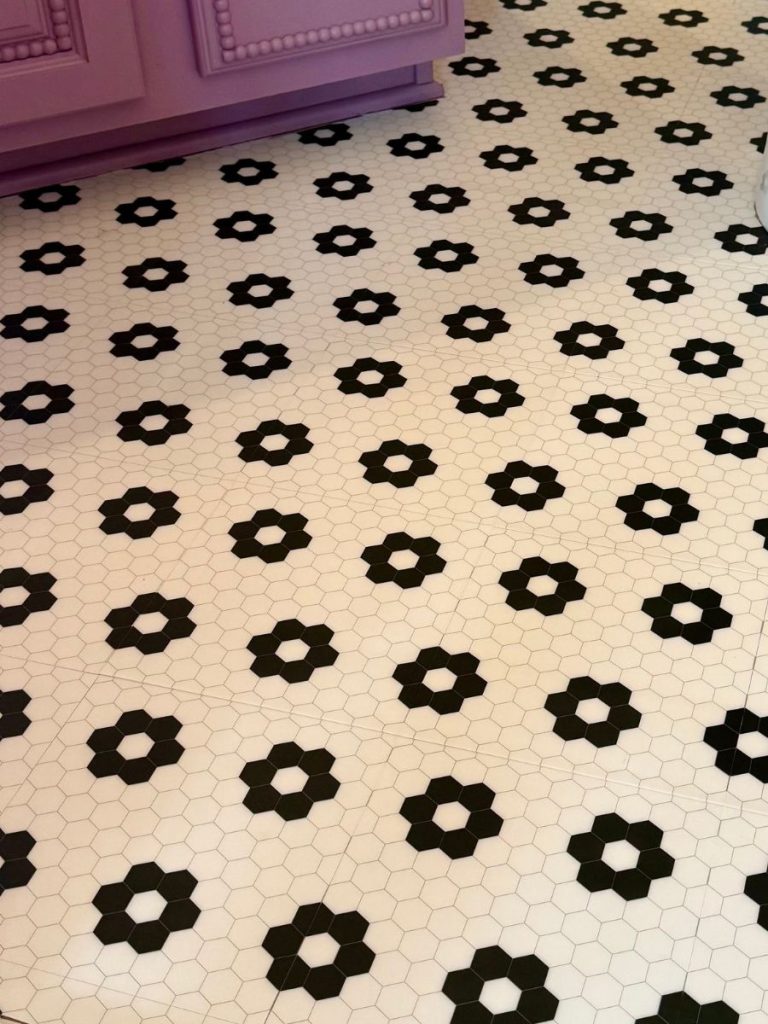
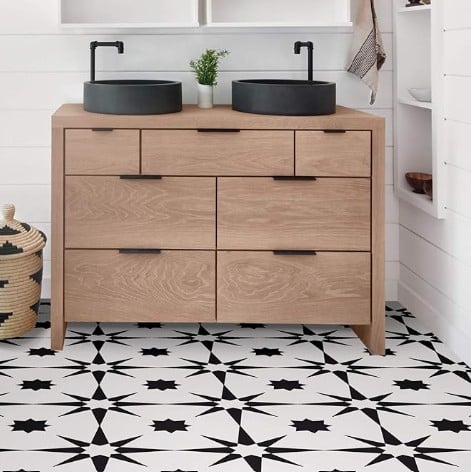
5. All in all, this project took me about an hour or so and here’s how it turned out:
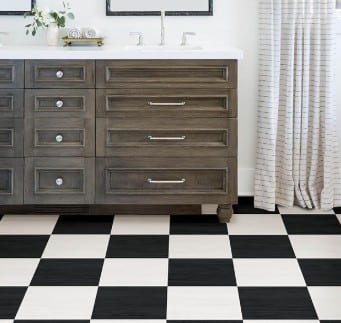
Other Designs I Love by FloorPops
When I was looking for the perfect tile design for my daughter’s bathroom, I can across these other designs that I also loved. The first is this checker board pattern that is simple and would go with just about any decor choices. Plus they look like marble.
The other pattern that was a close second is also by FloorPops and has a truly fun design was this one called Altair. This design would have also been great in a kids bathroom.
Benefits of Peel And Stick Floor Tiles
Stick on tile is such an easy and affordable way to update a bathroom when you are doing it yourself. There is no need for wet saws, mud or grout. There is no worry about changing it down the road. And most of all, it is super affordable!
With FloorPops floor tiles, the tiles are higher quality than some others I have experienced. The tiles themselves are thicker, there is a small amount of cushion, and from what I have read about them online, they last a petty good amount of time. I’ll do an updated review after having them for a few months though.
Tips for the best result
Take your time: go slowly and make sure you line up all the lines so the job looks neat and professional. I used a level to keep my edges straight, but also made sure the smaller lines within the tile lined up as best as possible.
Make sure the floor is clean and free of any dirt, grime, oil, or debris before sticking these tiles.
And, if you’re using these in a bathroom, make sure you use a bath mat to catch water and limit any pools of water on floor.
FAQs
Are these peel and stick tiles waterproof?
The FloorPops tiles are water resistant and washable.
Do stick-on tiles for the bathroom floor need to be sealed so they are waterproof?
No, you do not need to seal these stick-on tiles like you would a normal bathroom tile. They are already water resistant.
Conclusion:
Overall, I have used peel and stick tiles before and I will definitely use them again. The are the perfect way to update a bathroom DIY and on a budget!


Read the Comments +