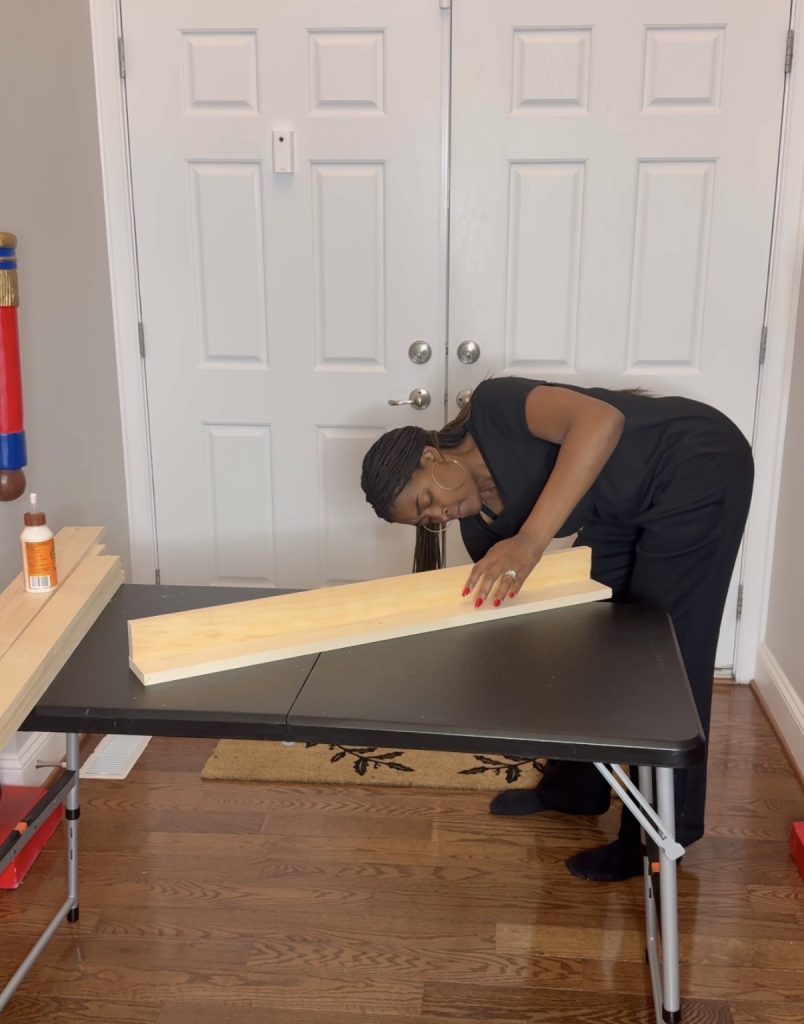
This past weekend I hosted my annual One Handy Momma Christmas Party and I made this cute tiered dessert stand. This was so easy to make and inexpensive! Over on Etsy, they can go from $75 and up and thats not even for ones this large.
My dimensions are 36 inches wide x 10-3/8 inches tall. And as you can see it holds a good amount of desserts!
Why you’ll love this project
Beginner Friendly: This diy tiered cupcake station is very easy to make.
Budget Friendly: The cost of wood can range anywhere from $25 to $40 (depending on type of wood you get) making it a cost effective project. These can go for $75 & up on Etsy.
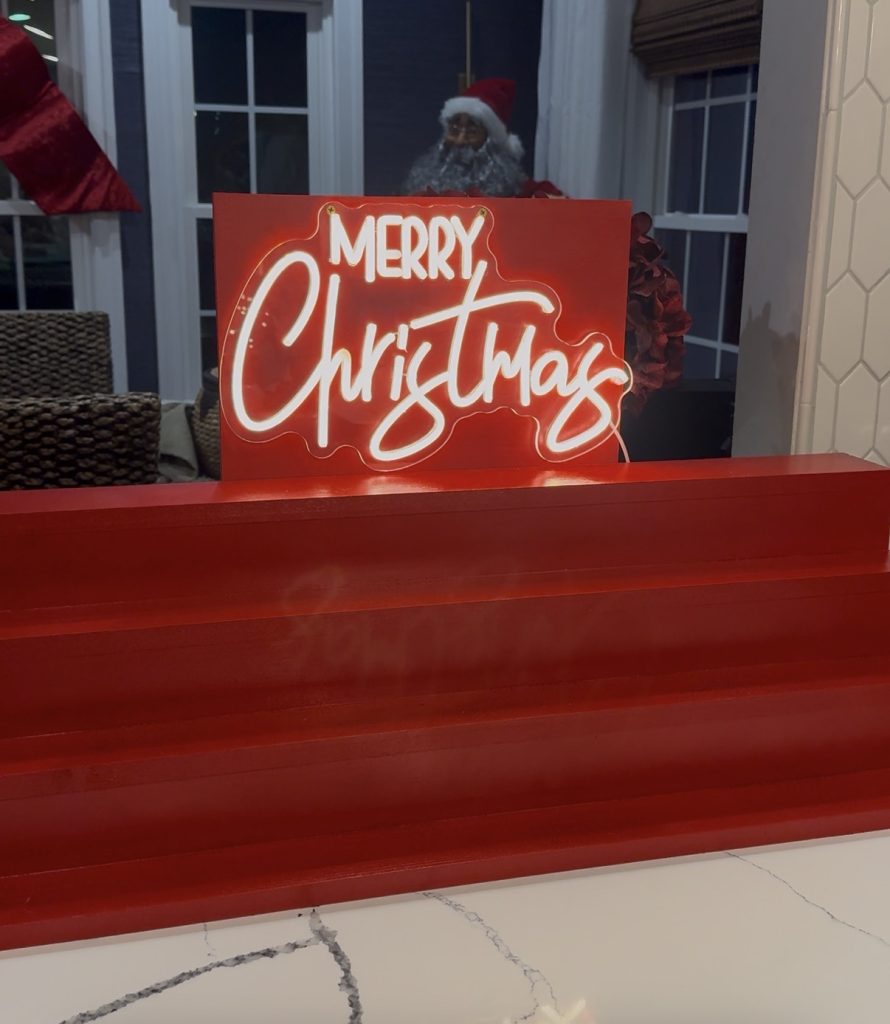
Customizable: Paint or stain it whatever color you want. You can also add signage if you want. I added a light up sign to mine.
Size: If you need deeper shelves for larger desserts or even beverages, swap out your 1x4s for 1x5s or 1x6s.
Add more wood on back as support pieces. I only have 2 on mine.
Make it different sizes
Instructions
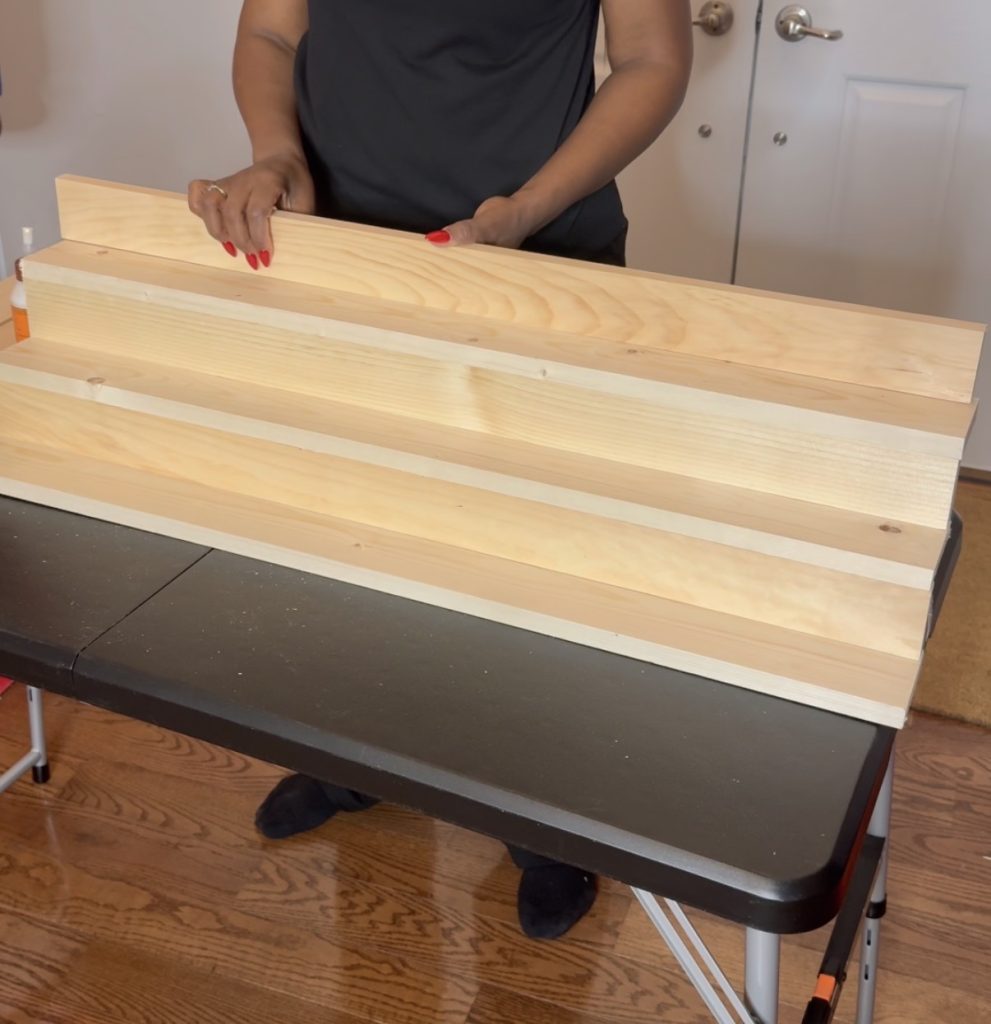
Start with one of your 1×4 -36 inch pieces and lay it flat. Then add one of your 1×3 – 36 inch pieces to the top of it to create an L shape as shown below .
2. Use your wood glue and attach with nail gun from bottom. Repeat this process for as many tiers as you want. You are basically creating a set of steps.
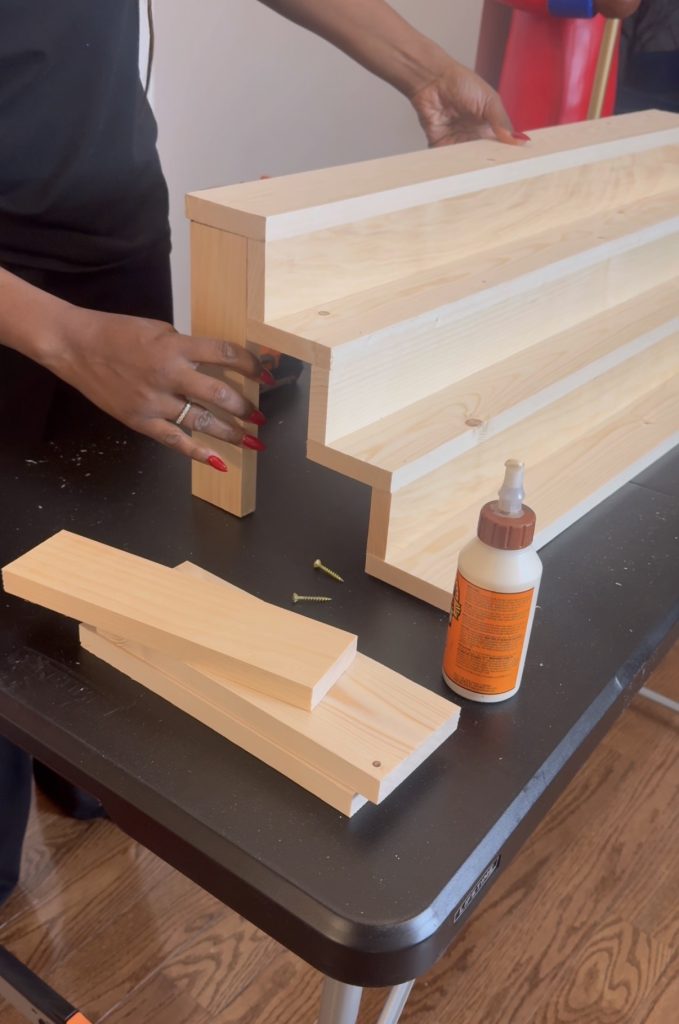
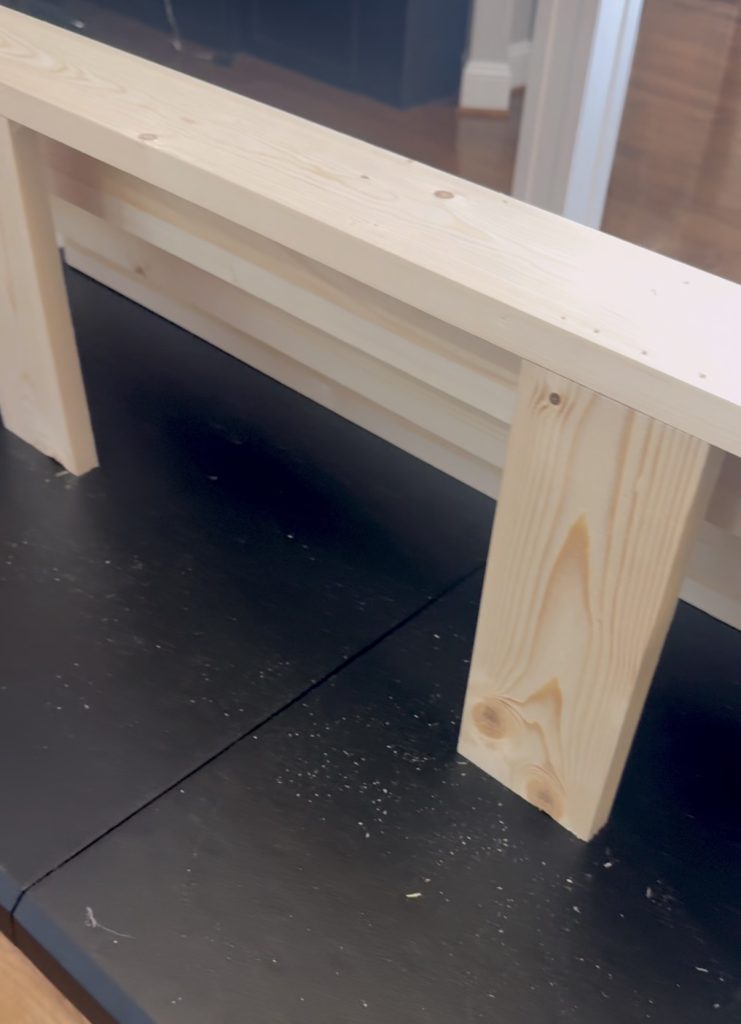
3. If you’re doing 4 tiers like I did, once you add your 4th 1×4 to top, it’s time to add your support legs on side. Don’t forget to add your glue then secure one of your 1×3 legs on each side.
4. Add support pieces to back using wood glue and nails. You can also secure with screws for more support.
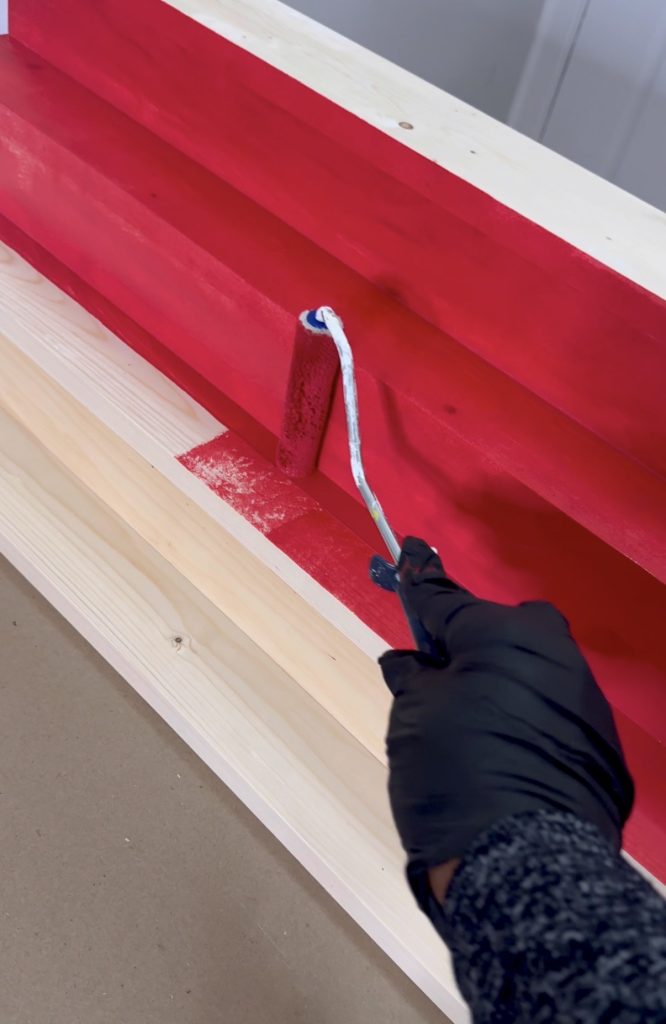
5. Paint or stain as desired.
6. If you want to add a sign (optional), there are a few ways to do it. For mine, I just used a piece of wood not too much wider than my light up sign. I attached the light up sign to the piece of painted wood then attached the wood to the back of my dessert stand with a screw.
Sharing DIY projects, home design ideas, everyday living inspiration, creative details, and a little personality along the way. If you love making your space feel like home, you’re in the right place.


Read the Comments +