


You guys know I love to repurpose a project! So today I’ll be showing you how I made a few tweaks to my foldable DIY mobile bar to turn it into a DIY Fruit Slushie Juice Cart!

Honestly, the great thing about my original DIY mobile cart is that it can be whatever you want it to be! So last year, a friend of mine asked me to make a charcuterie cart which gave me the idea of making this slushie cart. And I figured instead of rebuilding a whole cart, I’d just try to use what I had, and then give it a face lift.
The first step in this project is using my DIY Mobile Bar Cart tutorial to build the cart. If you recall, here’s how I used it for Christmas:

Once you’ve gotten that built, it’s time to tweak the counter top. So let’s get into what you’re going to need for this.
Why you’ll love this project
This project is totally a beginner friendly project and great addition for summer gatherings and honestly year round. I cut some holes in the top and refreshed the paint then added some flowers and signage. I kept my version pretty simple, but this is totally customizable so your design options are limitless.
- Simple Build: This portable bar is easy to build with just a few simple materials and tools.
- Versatile: Use it various events in the future by just changing up the decorations!
- Foldable: This is the perfect bar to build if you want to be able to put it up, take it down, and store it easily.
- Easy Tools: You will need a jigsaw to cut your holes out but a jigsaw is pretty easy to use and if you don’t own one, you can rent one from Home Depot or Lowes.
Having Champagne at your party? See how to make my DIY Tabletop champagne Bar

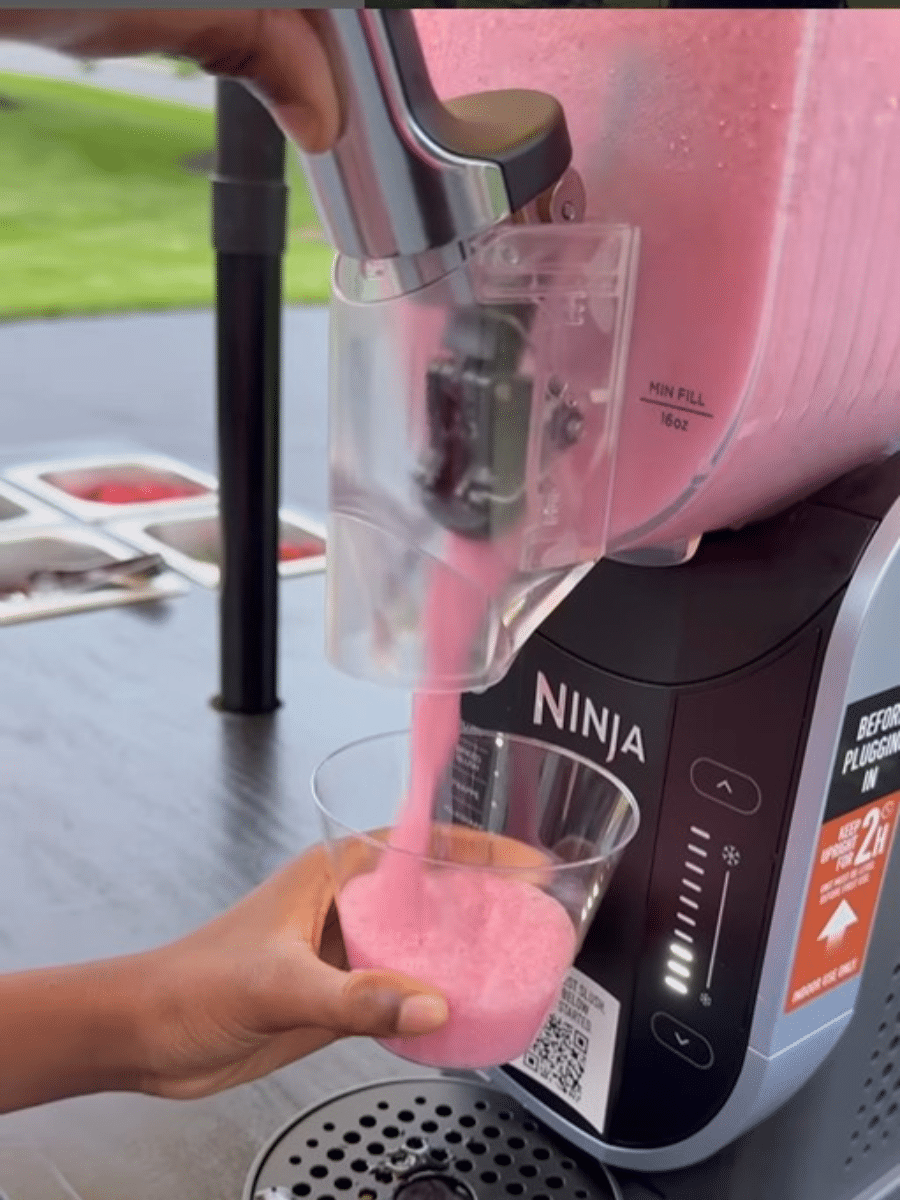
I’ve been eyeing this Ninja Slushie Machine for over a year now. Everyone I know who has one loves it. So I finally bit the bullet and purchased it! But I’ll get into more down below.
Read more about why I love the Ninja Slushi so much in this post!
MATERIALS:
- Countertop of your mobile cart
- Steam Table pans: These stainless steel steam trays are the perfect size for this smoothie bar and they are really easy to clean.
- Ninja Slushie Machine: Let me tell you a little about how great this slushie machine is. Not only is it super easy to use and clean, but it is a great investment! My kids are always asking to go get slushies in the summer. With this handy machine, it will quickly pay for itself. And did I mention that you just need to add a little alcohol and you have yourself and “adult slushie”? Add a little tequila for a frozen margarita or some rum for a hurricane.
- 7.5 ft Patio Umbrella : You don’t have to buy a new umbrella, any one you already have will do, but if you want a different color, this patio umbrella comes in just about any color you can imagine.
- Umbrella base (I got mine from At Home)
- Fruit (or whatever food you’re adding)
- Flowers & Signage (optional)
Tools Needed
- Jig Saw (I’ve linked an inexpensive option with great reviews or you can rent one)
- Drill
- 1-3/4″ Hole Saw drill bit : All you need to drill a hole in anything is a hole saw drill bit. You are bound to get a ton of use out of this if you decide to buy one. You could also use your jigsaw to cut out the hole however it may not be perfectly circular.
- 1/4″ – 3/8″ drill bit
- Sander (hand sander or electric)
- Ruler
- Paint (if needed)
- Piece of cardstock or cardboard (optional)
Curious what other tools a DIY’er needs? Check out this list of Beginner DIY Tools!
CUT LIST
- Your cut outs for the pans will be 5-3/4 inches wide x 6-1/4 inches wide each (if you use the pans I linked above in the Materials section)
- The hole for the umbrella will be 1-3/4″ wide
Variations/ Adaptations
Add more steam pan cut outs: Depending on what you’re using the cart for (smoothies, slushies, charcuterie), you can have more cut outs, use different size pans, etc.
Add wheels: By adding castor wheels to the bottom of this foldable bar, you will make it even easier to move from place to place and get it into storage.
Use a different type of wood: Not into plywood? That’s okay! You can build this folding mobile smoothie bar using any wood that you like, even pallets or old barn doors.
Change the colors: I chose a simple black and white for the original and then changed it for the slushie juice bar, but feel free to pick any paint color that works for you and your theme.
Change the theme: I originally made this DIY bar for my birthday party, but then repurposed the decorations for our Christmas party this year! Now I’m using it for the summer as a slushie bar for the kids and my friends!
Make it a smoothie cart: Switch out the slushie machine for a blender and offer your friends and family a fruit smoothie at your new walkup smoothie station!
Let your kids use it: Every summer there are kids in my neighborhood selling lemonade. I think your kids could give those kids a run for their money if they were selling slushie’s from your newly made mobile cart! Here are some of our favorite recipes.
Turn it into a Charcuterie Cart: Having a party soon? Use this same cart as a charcuterie cart!
***PRO TIP: Make multiple countertops for different uses and just switch them out as needed.
How to Make it
- I started by taking my cardboard and making a stencil of my cut out. This made it a little easier for me to then trace the boxes onto the countertop. Remember the size of each opening will be 5-3/4 inches X 6-1/4 inches (Image 1).
- Once that is done, you will then need to use your ruler to measure and determine the spacing you want for you steam pans. Make sure you don’t start your cuts too close to the edge. I made that mistake but thankfully I realized it before I started cutting. To be on safe side, start your cuts at least 4-1/2 inches from the edge (Image 2). *Remember to always double check your measurements before you cut.

3. Next you’ll use your drill to cut holes in the corners of each box then use your jigsaw to cut the holes out. Remember, your cuts don’t have to be perfect (mine certainly are not lol). The cuts will be covered by the metal pans (Image 3).
4. After your cuts are done, grab a pan and make sure it fits in well. Next, sand all the edges of your cuts. (Image 4).

5. Measure the center point of your countertop and mark it with a pencil. Now grab your hole bit and cut your center hole (Image 5).
6. Sand the area where the hole is and touch up the paint if needed. Place your umbrella in the hole and into an umbrella base (Image 6).

7. Add the fruit to the stainless steel pans and add your floral decorations (Image 7).
8. Place your slushie machine on the slushie cart and make your slushies (Image 8)!

Tips for best results
- Use the theme you like best.
- Have things pre-cut at Home Depot
- Invest in a jigsaw! It makes all my projects easier!

All done!
Let me know if you give this a try!


Read the Comments +